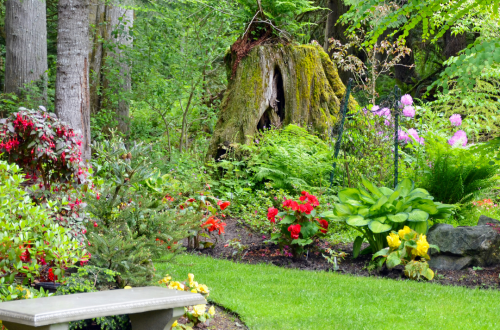
Shelves are a convenient way to store books and other items on the wall, but they can also be used in other ways. For example, they can be used to create a wall of your favorite photographs or displayed as part of a home office desk. Shelves can also be used to create a line of sight on your office desk, wall, or mantelpiece.
You can put anything on a shelf, just about anything that you can hang on a wall. It doesn’t have to be a book; it can be all sorts of things. But of course, there are some things that you wouldn’t want to hang on a shelf, because the things you put on a shelf are usually not the things you want your friends to see.
To put it simply, it is a piece of furniture that is used to store and organize items. Shelves differ from cabinets in that the latter is typically used only for storage, while shelves can be used to display things as well. Generally speaking, if you’re looking for more storage space, installing cabinets from a company like Lovech, which specializes in custom storage ideas, is a good idea. For display, shelves are a better fit. Typically, a shelf is a flat, horizontal surface that is placed on a wall. However, a shelf can be placed on a table or other flat surfaces. They are designed to create a space in the room where there is limited storage space, such as in an office or bedroom.
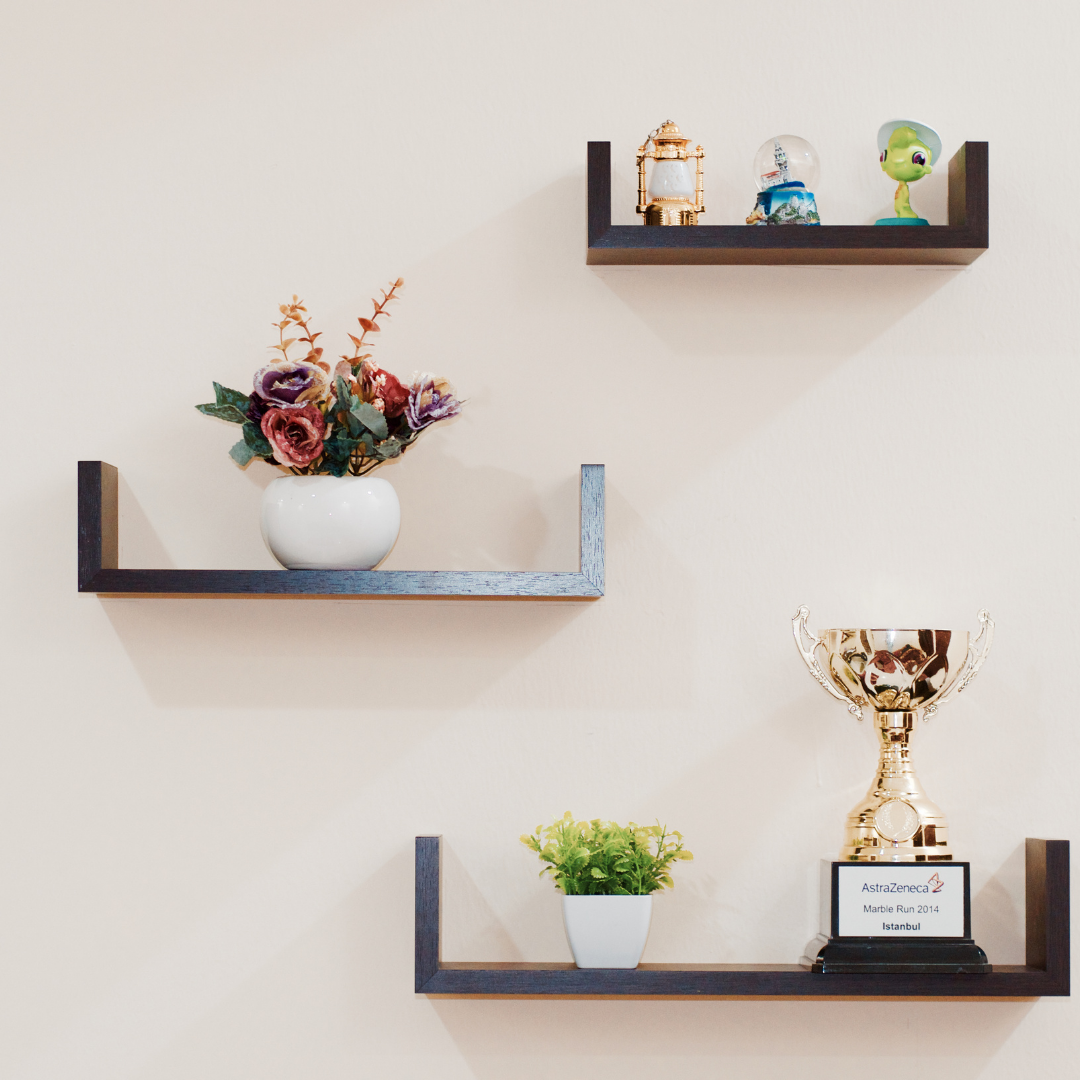
Now, you might have heard of something called a floating shelf. A Floating Shelf is a shelf with no support; it floats on air. It is popularly used in offices and kitchens to serve as a place to clean and store things.
Floating shelves are a great way to add more storage to a room while also adding a unique look to your interior. They can be used in many ways, whether it be to hold books and knick-knacks, pictures, and mementos, or even as a place for plants.
These shelves are a great way to add some style to your room in a very little amount of time. They can be used at the top of the walls or in corners. They are easy to install, can be adjusted to fit the height of the room, and can be adjusted forward or backward and side to side.
Floating shelves are not for everyone, but for those who want to make their home or office more livable and stylish or simply display a few items for decoration, you can’t go wrong with a floating shelf.
Here’s how to install floating shelves:
- Step one: First off, never forget about the tools and materials that you’ll need to help with installing your floating shelves. Make sure that you gather all the proper tools and materials.
- Step two: The second step would be deciding where you’ll place your floating shelf. Before we start with the installation, the most important step is trying to decide where the shelf will be; once you’ve figured out where you’ll install it, it’s time to find any wall studs with the help of a stud finder. Stud finders are the best; you just need to run them along to the well, and then they’ll start beeping once a stud is located.
- Step three: After you’ve located the studs, the next tool that you’ll put into use is the spirit level. This will help with making sure that the bracket that you will hand is straight. When you see that the bubble is located in the middle, then you’re ready for the next step. Start drawing a horizontal line on your wall and also mark all holes with a pencil, don’t forget to include all the most important central holes.
- Step four: Once you’re done with the previous steps, it’s time to screw in the bracket. Start drilling a hole at the center point and then screw a wallmate into position. When you are done with this, grab a kit screw and then drill straight through your wallmate. You can start screwing the other screws to both ends.
- Step five: It’s time to slide your shelf on; make sure that everything is set, from the holes to the bracket itself. After this, you can grab the final two short screws and start to screw them through the bottom holes to the bracket so that you’ll be able to secure your shelf.